I have been keeping it up-to-date, but it was still Ubuntu 22.04, with the latest long-term support released from Ubuntu being 26.04. So I decided it was time to do the dreaded release-upgrade.
Why do I say “dreaded”? Well, things have broken in the past, and I was sure something would break again. It almost always do.
So, the first step was to take a full backup. I run it as a virtual machine on VMware ESXi, but since I have had some issues in the past with the snapshot feature, I have learned not to use it, but instead make a copy of the files manually.
After making sure that every package was up-to-date, and the machine rebooted, I ran do-release-upgrade and let it do it’s thing. I was surprised that most things just worked after the upgrade. But some small things showed up:
Python 2.7 was removed, so some home made scripts stopped working. I need to fix this at some point in the future, maybe.
PHP was disabled for users, that is for files in the public_html directory.
Apache 2.4 (I came from 2.2) introduced some new rules replacing “Order allow, deny” and “Allow from all” with “Require all granted” (or denied, or somewhere in between).
One side effect, which I spent a lot of time on in Apache configuration files, was that I was not allowed to view files in a subfolder under public_html. But in the end it turned out to be because of PHP being disabled, and this blocked indexing of subdirectories. Viewing the files with a full URL worked, except for PHP files.
So far everything seems to be running fine, but it will be interesting to see if Certbot is running as it should, because I have a vague memory that this broke when upgrading to 22.04 a few years back.
I do plan to run another do-release-upgrade to get it up to 26.04, but once I got 24.04 to run as expected, I did not want to ruin it well knowing I did not have the time to take a new backup and fix potential issues.
All in all, the upgrade was a success. Almost no issues at all.
I’m impressed. Really, I am. After getting tired of Windows 11, which didn’t take long to be honest, I finally got the push I needed to install Linux as my daily operating system. I first installed Ubuntu, since I have years of experience with it on the server side.
Well, that did not last. Ubuntu has introduced something called ‘Snaps’, which I did not make any effort to understand — except that it keeps crashing on my machine.
I also tested SUSE at some point, but I’m pretty sure I ditched it because I could not get the external monitors to work on it. To be fair, getting DisplayLink drivers is not as easy as it should be. This is due to the docking station I use, I guess.
Finally, I found Fedora with support for the mentioned DisplayLink. I still have to compile ‘evdi’ each time I get a kernel upgrade, but it’s a trouble I’m willing to go through for a decent setup.
What really sold me was when I installed the KDE desktop environment. I don’t understand why this is not default. It is way ahead of Gnome, which seems to be default on both Ubuntu and Fedora. Way, way ahead. It’s insane!
So, yes. Finally, after many painful years with Windows (my old desktop machine has Windows 8.1, which is still better than Windows 10), I finally have a desktop environment that works with me, and not against me. With the one exception on compiling DisplayLink drivers, but I can’t blame that on Fedora. It’s the people making DisplayLinks fault.
I remember it like it was yesterday. The thrill. Wandering away from the safe and boring, and into the unknown. Yes, I’m talking about my first installation of Linux, Slackware 4.0 – which places my first contact around mid 1999, since this year also saw the 7.0 release.
Unfortunately, I don’t remember the name of the guy who introduced me, or his handle on the internet. It was at the local computer club, and in a short evening he showed me the ropes, helped me install Slackware and recommended using Enlightenment (E16) instead of Gnome or KDE.
The Librarian
Before this point, I’ve already read skimmed through at least one book on Linux, which is almost a short story in itself. I got curious about this whole Unix thing a few years earlier and took a trip down to my local library to see what they had on the topic. I asked the lady at the desk, but she didn’t know what I was talking about, however, the guy with the “stuffed penguin doll” certainly did.
Yet another guy I don’t remember the name of, but who made a lasting impression. “You don’t want Unix, you want Linux. Take this book, it will answer all your questions and make you wise” – well, the first part of that sentence is true anyway. So, it turns out that one of the librarians was a Linux geek! And when he spoke about his weekend Linux adventures at work, no one understood a damn thing. But I got it. I understood. At least I understood the core concept, I did not understand how much work it was to save a RAID gone bad. That would come later.
Got root?
So, I mentioned the thrill earlier, and in hindsight this might seem silly, but the thrill of being root for the first time was more powerful than you probably can imagine. This feeling quickly faded though, since I was root only on my own machine, but still, it felt big at that moment.
Back in 1999, you could not just install Linux and expect everything to work out of the box. Just setting up the graphical environment required a lot of leg work. Like knowing the vsync and hsync of your monitor (CRT monitors, remember those?), screen resolution, colour depth and a few other bits and pieces. If you got it wrong, it would just flicker your screen and crash. Fun times, glad they are over.
The Linux kernel
At some point I started compiling my own kernels. Adding and removing features to make it as small and streamlined as possible, and yet still be able to boot. I learned a lot about hardware back then, well, a lot about which hardware I had at least. Also, I learned how long it took to compile the kernel on my machine. It was just long enough that you didn’t want to make too many mistakes. So, circa 20 minutes?
Looking back, I’m glad most distros shipped with the source code as well as the compiled binaries. Downloading a new kernel took ages, that is around 38 minutes assuming we download a 17MB .gz file on a 64 Kbps (ISDN) connection.
Dial Internet
Eventually, we got internet, dial-up of course, but probably not the one you are thinking about, unless you made the connection from the previous paragraph. If you did, kudos. Anyway, my parents went straight to ISDN, two lines, always on. Except I wasn’t always on, because dial-up still cost money by the minute.
I had an Teles ISDN card where IRQ address had to be set manually (ISA bus), luckily there was a German project (German domain at least) called ISDN4Linux which helped a lot when setting up the correct kernel modules and software config. I guess ISDN was more of a European thing.
A funny thing about this ISDN card – well, funny might not be the right word – from time to time, the card would stop working. Rebooting the machine did not help. However, changing the ISA slot did. So, each time it stopped it was just a matter of turning the machine off, moving the card between one of the ISA slots available, and power it back up. Yeah, that was not a funny thing. I should not have written that.
I don’t know if anyone else ever had that problem, but the solution, as I mentioned, was easy. And as long as I never put the lid back on, or fastened the screw securing the card, it was a quick and painless experience. Except for the part were the machine had to be powered off and back on. Okay, skip quick and painless, let’s say: easy but tedious.
The year of the Desktop
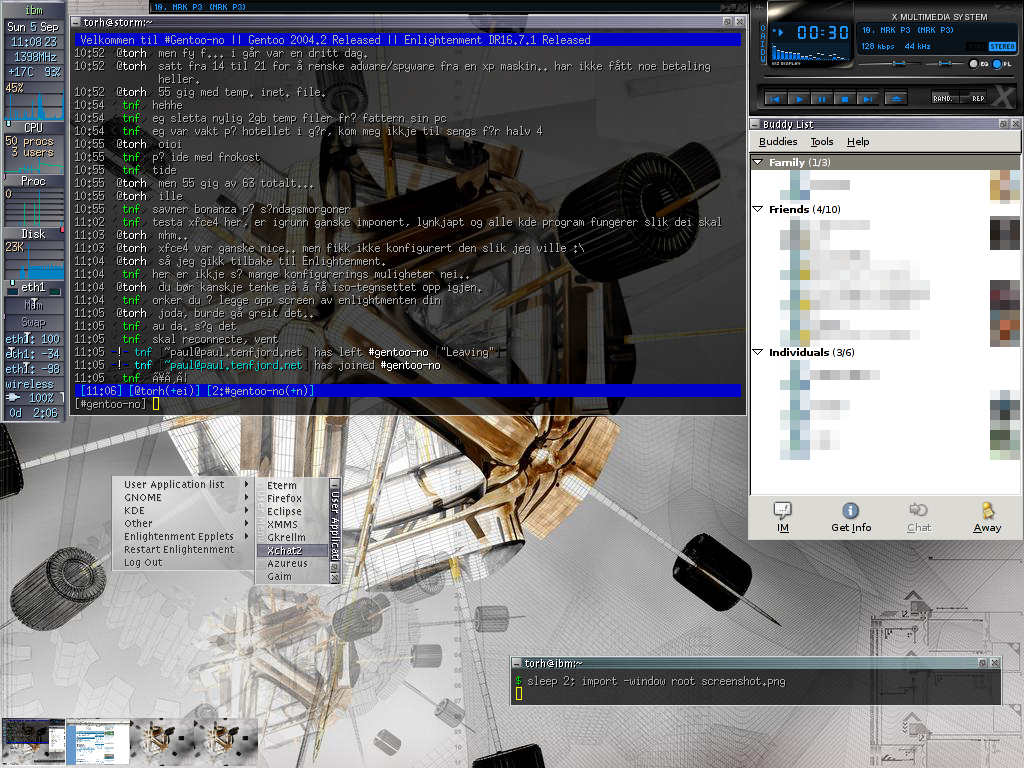
Despite a lot of talk about “the year of the desktop”, it never really happened for Linux. Well, it happened for me. I used Linux full time on my desktop for over a year and a half around 2004. It was good and it felt good. I was master of my domain, still rocking Enlightenment as my go-to desktop environment.
XMMS and gkrellm, those were the days.
Picture above: If you read Norwegian, I did eventually get paid for that Windows XP stint. If you don’t read Norwegain, I still got paid.
Now, however, I was using Gentoo. A Linux distribution that was compiled for your hardware on your hardware, promising more speed and control. The speed gain would come after installation and certainly not during, because downloading and compiling every package took ages – and this time I’m not talking about 38 minutes anymore, but hours.
I did save a bit of time when I worked as a sysadmin at a school. Using computers in the computer lab and a boot disk, I could harvest their collective processing power to install Gentoo on my laptop using distcc, a distributed C/C++ compiler system. Also, the school had way faster internet then I had at my apartment.
Then games drew me back to Windows. Now days it’s mostly Lightroom keeping me back, but the way Windows is heading, Linux as desktop looks way more interesting again. I’m still using Windows 8.1 at home, and it’s not because it’s great.
What’s this all about then?
I learned so much about computers back then, and Linux really was a big driver in that regard. Do I miss it? I would be lying if I said no, but on the other hand, my previous rant post have showed me that this probably is more about nostalgia then anything else.
I guess that’s basically it: me dipping my toes in lake nostalgia, again.
I recently installed Steam onto my Linux laptop. You know, to play games and such. Well, actually, just to try that one game which I knew was running in DOSBox. It’s that kind of game. Old. Should work on Linux, right? I mean, it’s DOSBox. Well — it didn’t — and Steam would not start either.
The problem
Trying to start Steam resulted in nothing. Tried several times. Nothing. Trying to start it from a terminal produced some error messages. That’s a good tip. If you have problem starting a program in Linux, try to start it in a terminal. It usually produce some information instead of dying silently.
$ steam
 Running Steam on centos 7 64-bit
 STEAM_RUNTIME is enabled automatically
 Installing breakpad exception handler for appid(steam)/version(0_client)
 /home/torh/.local/share/Steam/ubuntu12_32/steam: symbol lookup error: /lib/libxcb-dri3.so.0: undefined symbol: xcb_send_request_with_fds
 mv: cannot stat ‘/home/torh/.steam/registry.vdf’: No such file or directory
 Installing bootstrap /home/torh/.local/share/Steam/bootstrap.tar.xz
 Reset complete!
 Restarting Steam by request…
 Running Steam on centos 7 64-bit
 STEAM_RUNTIME has been set by the user to: /home/torh/.local/share/Steam/ubuntu12_32/steam-runtime
 Installing breakpad exception handler for appid(steam)/version(0_client)
 /home/torh/.local/share/Steam/ubuntu12_32/steam: symbol lookup error: /lib/libxcb-dri3.so.0: undefined symbol: xcb_send_request_with_fds
The Solution
So I did a quick Google search, and instead of ending up on this blog post (like you did), I ended up at a GitHub issue where a post from 2017 gave me this answer. And guess what? It works! Just run this command from terminal, and after that it should work as normal.
In my case Steam started updating itself. So I guess the package available for CentOS isn’t kept up-to-date. And why would they, if Steam updates itself anyway.
The Question
Why on earth this hasn’t been fixed yet beats me. Actually, the Github issue says that it’s fixed, so I guess we are back to the point that the package in CentOS isn’t updated.
And why a game which “only” needs DOSBox isn’t supported on Linux is also a bit strange. I could always download it on a Windows machine and copy the files and see what happens.
Anyway. This was more about getting Steam running and less about me trying to play a game from my childhood years.
I’ve written about this issue before, in 2008. But as it turns out, the problem still exists with todays version of the Citrix client, version 12.0, now called Citrix Receiver. And people are still searching for an answer on how to solve this issue.
You have not chosen to trust [certificate] the issuer of the server’s security certificate (SSL error 61)
Both the problem and the solution is the same as before, only the name and the path is different. The path depends on whether you installed the client/receiver as a normal user, or root, also known as the superuser.
I’ve used Ubuntu 11.04 here, but I reckon it’ll work on any Linux distribution.
The problem is this; When you install the Citrix Receiver, it will only install a handful of certificate files, and we’ll have to provide the rest. Now, where can we find a reliable source of SSL certificates? Well, it turns out that we most likely have that already. The same source our browser is using.
/usr/share/ca-certificates/mozilla/
Just copy those .crt files over to the Citrix keystore, and we should be done. If the client is installed under /opt/Citrix/ICAClient/, run this command in a terminal:
If you are using a home made certificate, or for some reason this doesn’t work for you, you’ll have to track down the correct .crt files yourself. But at least now you’ll know where to place them.